Table of Contents
Creating a digital menu board for your restaurant is a powerful way to modernize your space, engage customers and increase your revenue. Gone are the days of static, printed menus that are costly to update and often difficult to read. Kitcast lets you design, manage and display beautiful, dynamic menus in just a few simple steps. Here’s how to create digital menu boards to win the competition.
Why do digital menu boards work?

The effectiveness of digital menu boards is backed by compelling data, proving they are far more than just a screen. This technology directly influences customer behavior and improves the dining experience.
Here’s how:
- digital displays are proven to capture 400% more views than their static counterparts, ensuring your menu items get noticed
- restaurants reported an overall sales lift of 3-5% after making the switch to digital
- one in five customers will make an unplanned purchase after seeing an item featured on a digital screen
- they enhance the customer experience by reducing perceived wait times by up to 35%, keeping customers engaged and happy
- digital menus boost the average purchase amount by nearly 30%
As you can understand, digital menu boards are a sales-boosting tool every restaurant should have.
Let’s get to the basics of creating the digital menu boards for your restaurant. Here’s the step-by-step guide.
Also check out: Guide to Making Digital Drive-Thru Menu Boards
Step 1: Get Your Hardware Ready
Before you can bring your digital menu to life, you need two basic pieces of hardware: a screen and a media player.
- The Screen: Any modern TV with an HDMI port will work perfectly. Whether you have a standard HD or a 4K screen, Kitcast can display your content. Consider the size and orientation (horizontal or vertical) that best fits your restaurant’s layout and aesthetic. You might want one large screen behind the counter or several smaller screens for different menu sections.
- The Media Player: This small device connects your screen to the internet and runs the Kitcast app. Kitcast makes this part incredibly simple and affordable by supporting popular, off-the-shelf devices. The most common choices are:
- Apple TV: Known for its smooth performance and user-friendly interface.
- Amazon Fire TV Stick: A very cost-effective and widely available option.
- Android TV Device: A versatile choice compatible with many smart TVs and external boxes.
- Raspberry Pi: For those who prefer a more customizable, hands-on approach.
There is no need for expensive, specialized hardware. You can likely use a device you already own or purchase one for a minimal investment. Once you have your screen mounted and your media player connected via HDMI, you are ready for the software.
Also check out: Apple TV vs Apple TV+ What’s The Difference?
Step 2: Sign Up for Kitcast and Install the App
Getting started with Kitcast is fast and intuitive. The software is designed to be plug-and-play, getting your menu on screen with minimal technical fuss.
- Create Your Kitcast Account: Head to the Kitcast website and sign up for a free trial. This gives you full access to all the features so you can explore the platform and design your menu board before committing. The registration process is straightforward and only takes a minute.
- Install the Kitcast App: Turn on your TV and navigate to the app store on your chosen media player (Apple App Store, Amazon Appstore, Google Play Store). Search for “Kitcast,” download, and install the app.
- Pair Your Screen: Launch the Kitcast app on your media player. It will display a unique four-digit code. Now, log in to your Kitcast dashboard on your computer or tablet, click “Add Screen,” and enter the code. That’s it. Your screen is now paired with your account, ready to show the content you create.
Step 3: Design Your Menu with Templates

This is where your vision comes to life. Kitcast’s powerful dashboard puts you in the designer’s seat, even if you have zero design experience.
A key advantage is the professionally designed, fully customizable templates built specifically for restaurants. For more ideas and best practices on creating engaging content, the Kitcast Blog is an excellent resource.
- Choose a Template: In your Kitcast dashboard, navigate to the templates section. You will find a wide variety of menu board layouts. There are options for cafes, quick service restaurants, fine dining establishments, and more. Select a template that matches your brand’s style.
- Customize Your Branding: Easily make the template your own. Upload your restaurant’s logo, change the background colors to match your brand palette, and select fonts that reflect your identity. Consistent branding builds recognition and trust.
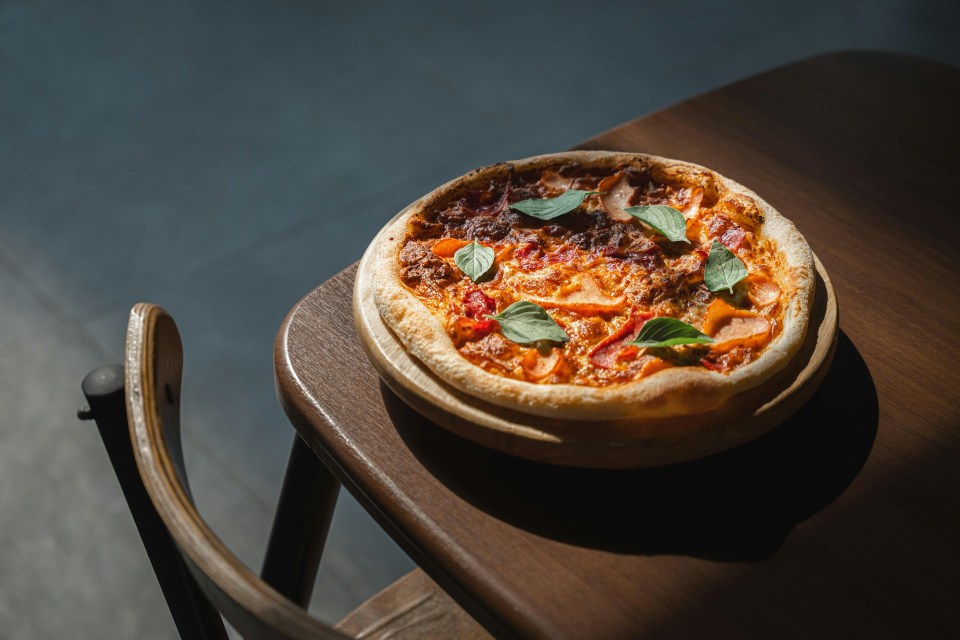
- Use High-Quality Visuals: Words sell, but pictures sell faster. Incorporate high-resolution images or videos of your food. According to a FedEx Office survey, 76% of consumers said they have entered a store they had never visited before based simply on its signs. Mouthwatering visuals of your dishes can significantly influence a customer’s ordering decision and even lead to a higher average check size.
Also check out: Digital Menu Board Use Cases
Step 4: Add Menu Items, Descriptions, and Prices
With your design in place, it is time to populate your menu.
Kitcast’s editor makes this process as simple as typing in a document.
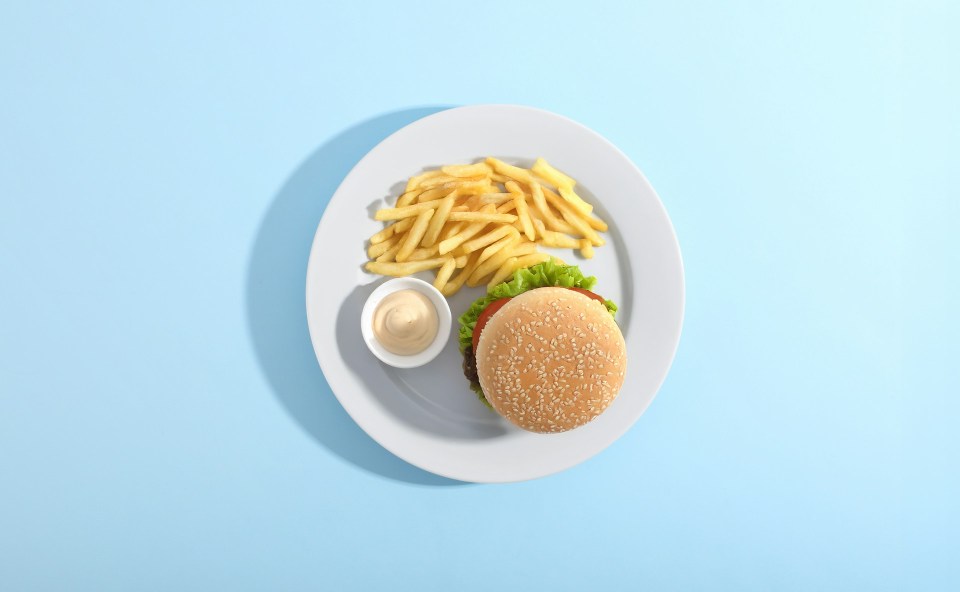
- Input Your Items: Click on the text boxes within your chosen template to add your menu items, compelling descriptions, and pricing. Be descriptive. Instead of “Cheeseburger,” try “Gourmet Angus Burger with Aged Cheddar and Secret Sauce.” This helps entice customers and justify pricing.
- Organize for Clarity: Group your items into logical categories like “Appetizers,” “Main Courses,” “Desserts,” and “Drinks.” Use clear headings and a readable font size to ensure customers can find what they are looking for quickly, reducing wait times and improving the overall experience.
- Real-Time Updates: Did a supplier run out of an ingredient? With Kitcast, you can log in to your dashboard from any device and remove or edit an item instantly. The change will appear on your screen in seconds. This flexibility is impossible with printed menus and saves you the cost and hassle of reprinting.
Step 5: Schedule Different Menus and Promotions

One of the most powerful features of a digital menu board is the ability to schedule content to appear at specific times.
This allows you to tailor your offerings and promotions perfectly to your audience throughout the day.
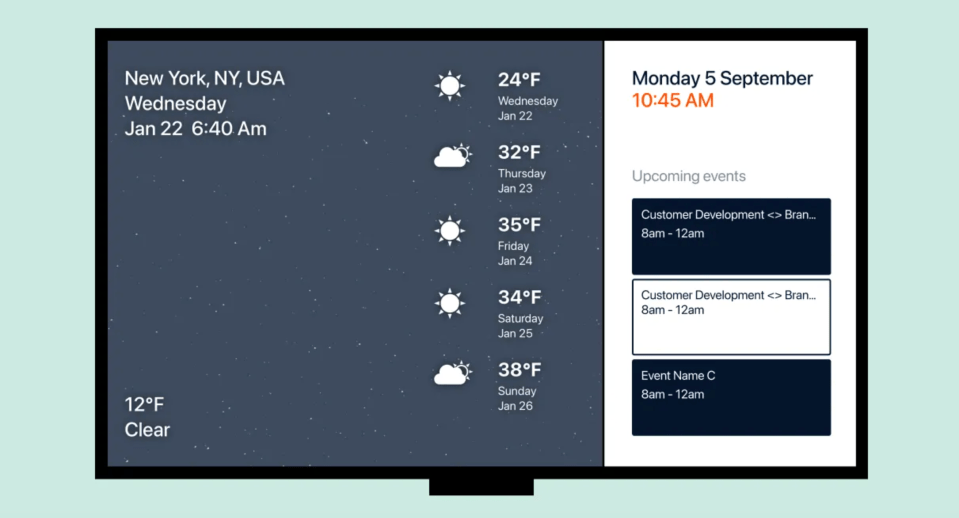
- Dayparting: Do you have separate breakfast, lunch, and dinner menus? With Kitcast’s scheduling tool, you can set your breakfast menu to display automatically from 7 AM to 11 AM, then seamlessly switch to the lunch menu, and so on.
- Promote Happy Hour: Schedule a vibrant, eye-catching promotion to appear on your screens a few minutes before happy hour begins. You can highlight drink specials and discounted appetizers to draw in afternoon customers and boost sales during traditionally slower periods.
- Limited-Time Offers (LTOs): Easily create and schedule content for seasonal specials or LTOs. This creates a sense of urgency and encourages customers to try new things. Digital promotion is effective; digital signage can increase the average purchase amount by nearly 30%.
By automating your menu changes, you save your staff time and ensure the right information is always displayed, creating a seamless experience for your customers.
Step 6: Publish and Manage From Anywhere
Once your design is complete and your schedule is set, you are ready for the final step.
- Create a Playlist: In your Kitcast dashboard, create a “playlist” of the menu or menus you want to display. This could be a single menu that runs all day or a series of scheduled menus and promotions.
- Assign to Your Screen: Simply assign the playlist to the screen you paired earlier.
- Go Live: Your digital menu board will instantly appear on your restaurant’s TV screen.
The best part is the centralized control. Whether you have one location or one hundred, you can manage every screen from your single Kitcast dashboard.
Update prices, add new items, or launch a nationwide promotion across all your restaurants with just a few clicks from your laptop or phone. This level of control and scalability is what makes Kitcast the ideal solution for growing restaurant businesses.
By following these steps, you can harness the power of digital menu boards to create a more engaging atmosphere, streamline your operations, and drive significant sales growth for your restaurant.
Frequently Asked Questions (FAQ)
Q: What do I need to create a digital menu board?
A: You only need two basic pieces of hardware: a standard TV screen with an HDMI port and a compatible media player. Kitcast works seamlessly with affordable and popular devices like Apple TV, Amazon Fire TV Stick, or any Android TV device. The final piece is the Kitcast digital signage software, which you manage from your computer or tablet.
Q: Can I use any TV for a digital menu board?
A: Yes, absolutely. Any modern TV, from a standard HD to a 4K screen, will work perfectly as long as it has an HDMI port to connect your media player. There’s no need to buy expensive, commercial-grade displays to get started with a professional digital menu.
Q: How much does it cost to set up a digital menu?
A: The cost is highly affordable compared to traditional signage. The main costs are the hardware and the software subscription. You can minimize hardware costs by using an existing TV. The media player (like a Fire TV Stick) is a small, one-time purchase. The Kitcast software is a low-cost monthly subscription per screen, making it a budget-friendly operational expense rather than a large capital investment.
Q: How do I update my menu on a digital board?
A: Updating your menu is incredibly simple with Kitcast. You just log in to your Kitcast dashboard from any device with an internet connection (like your phone or office computer), make your changes—whether it’s updating a price, adding a new item, or marking something as sold out—and the changes appear on your screens in seconds.
Q: Can I schedule different menus for breakfast, lunch, and dinner?
A: Yes. This feature, often called “dayparting,” is one of the biggest advantages of a digital menu. With Kitcast’s built-in scheduler, you can create different menus for different times of the day or week. The system will automatically switch from your breakfast menu to your lunch menu, and then to your dinner menu, without you having to do a thing.
Q: Do I need design skills to create a professional-looking menu?
A: Not at all. Kitcast is designed for business owners, not graphic designers. The software includes a library of professionally designed and fully customizable templates specifically for restaurants. You can easily add your logo, change colors, and input your menu items to create a stunning, on-brand digital menu board in minutes.
Guide to Digital Signage Zoning: Make The Most Of Your Screens
10 Best Digital Menu Board Software Solutions in 2026 (Ranked)